One morning last week my daughter got dressed for school and came out of her room in an aqua plaid tunic and this skirt. Oy. I suggested that maybe they didn't look all that great together and she should change one of the pieces. She looked hurt and said, "But, these are my favorites!" Her favorite top, her favorite skirt...how could they not look fabulous together?
She felt beautiful and happy so she went to school dressed just how she wanted. I figured it would be wise of me to make some matching cool weather clothes so the skirt could be wearable through the winter.
My daughter is finally outgrowing Kwik Sew 2918 that I have used for T-shirts for her for the last five years. I've been adding lots of length and some width and modifying the fit of the largest size for the last few seasons. It's time to move on. Ottobre to the rescue.
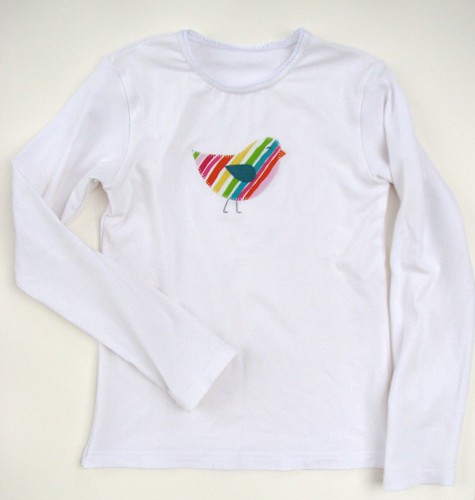
I started with a slim fitting T-shirt pattern (Ottobre 3/2011 #24), changing the short sleeves to long ones. The fabric came from a top of mine that I didn't wear much because the sleeves were too short. The neckline is finished with picot-edge elastic rather than binding as called for in the pattern.
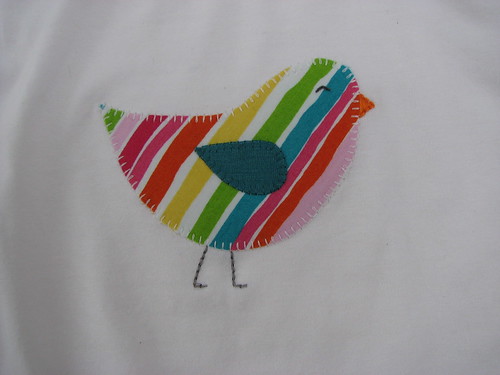
I knew what I wanted the bird applique to look like and just started sketching it on paper, but it wasn't turning out at all how I wanted. I'm horrible at drawing. Horrible. So, then I started searching online and found the header at Little Birdie Secrets. Exactly what I wanted. I still drew it, but I had something to copy.
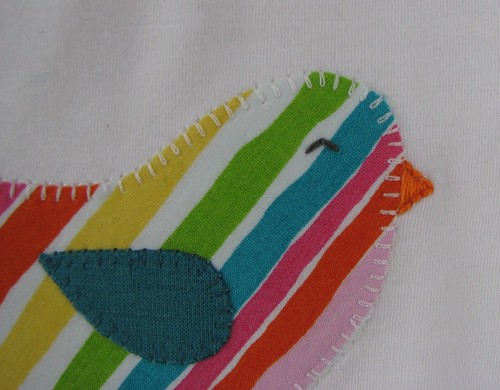
I like using the blanket stitch on my machine. The tension should have been adjusted along the top of the bird's head, but I just left it. The beak and eye are done by hand with embroidery floss. The legs are stitched on the machine, tracing over pencil lines multiple times.
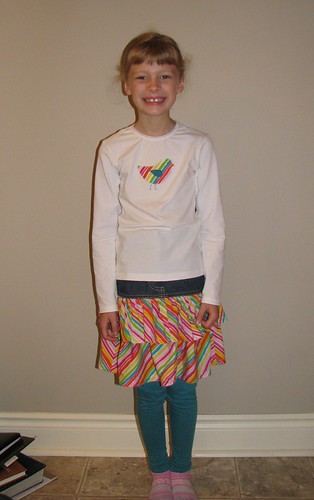
Here she is, looking happy and matching! And rumpled. But two out of three ain't bad. The leggings are Burda 9615, a pattern I love and may end up using as much as Kwik Sew 2918 in the end.
She felt beautiful and happy so she went to school dressed just how she wanted. I figured it would be wise of me to make some matching cool weather clothes so the skirt could be wearable through the winter.
My daughter is finally outgrowing Kwik Sew 2918 that I have used for T-shirts for her for the last five years. I've been adding lots of length and some width and modifying the fit of the largest size for the last few seasons. It's time to move on. Ottobre to the rescue.
I knew what I wanted the bird applique to look like and just started sketching it on paper, but it wasn't turning out at all how I wanted. I'm horrible at drawing. Horrible. So, then I started searching online and found the header at Little Birdie Secrets. Exactly what I wanted. I still drew it, but I had something to copy.
Here she is, looking happy and matching! And rumpled. But two out of three ain't bad. The leggings are Burda 9615, a pattern I love and may end up using as much as Kwik Sew 2918 in the end.
Adorable, as always!
ReplyDelete