
Going Once...

Just like last year at this time, I was asked to donate something for a charity auction at the school my children attend. I used this pattern to make a set of placemats.

Auction Items

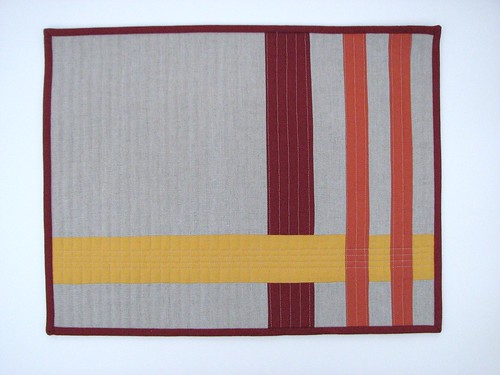
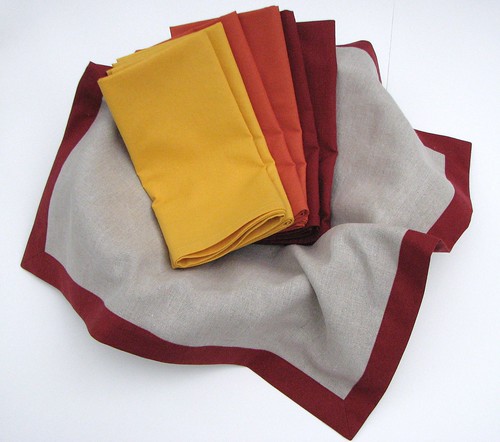
The background fabric is a sand-colored linen. I bought five yards of it a few years ago when I happened upon a fabric store that was going out of business while on vacation. I've been using pieces of it here and there - never really a big chunk at a time - and now I've got about a half of a yard left. I'll be sad when it's all gone.

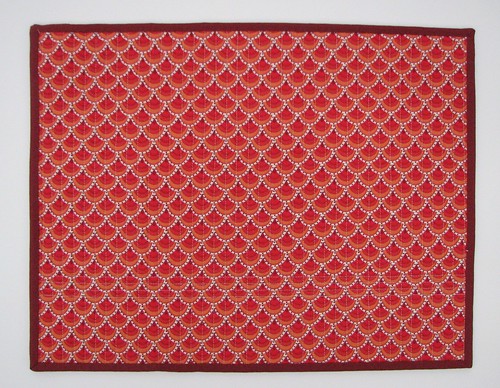
The backside is a clamshell printed quilting cotton.

Auction Items

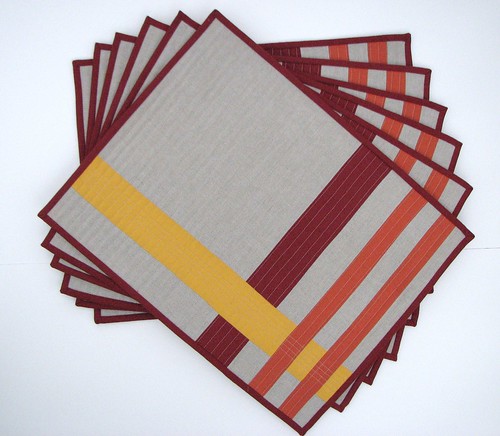
The binding is finished by hand (took a long time, but looks really nice) and the vertical quilting lines are about  3/8" apart - pretty dense. These two factors multiplied over six placemats meant that they weren't finished as quickly as the "so simple and easy" endorsement on the pattern had me expecting. But, I'm really happy with how they turned out. The extra effort was worth it.

Auction Items

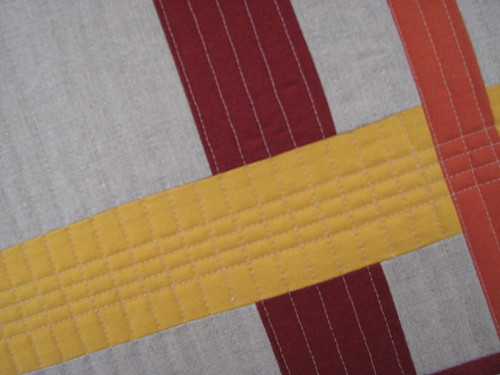
I put four horizontal lines of quilting in the yellow stripe - each 1/4" apart. (Sorry about the blurry photo). I think the pattern designer may have intended the quilting to be a little more "organic," but I do love me a nice straight line.

Auction Items

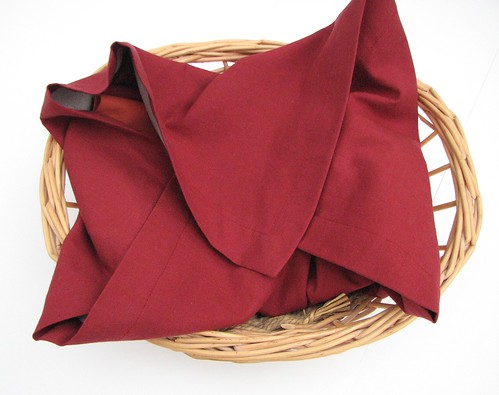
After the placemats, I made six cloth napkins and a liner for a breadbasket to match.

Auction Items

The photo makes it look like the basket has no depth - not the case in real life. The photo below is a little better.

Auction Items

Next up: Owl Pillows. Hoot!

Comments

  1. What lovely place mats. They are wonderful. You are so talented.

    ReplyDelete
  2. Beautiful placemats! They match my kitchen perfectly. Oh, what I would've given to have those:)

    ReplyDelete
  3. Very stylish placemats! They should bring in a nice donation.

    ReplyDelete
  4. Beautiful placemats and napkins. The quilting lines were wwll worth your effort. The effect is beautiful.

    ReplyDelete

Post a Comment

Popular posts from this blog

Grocery Bags

More gifts! These are just like the still-all-too-ubiquitous plastic grocery bags, but they're fabric.  I followed this tutorial and you actually use a plastic bag as a pattern.  The instructions are very good and include a pocket so that the bag can be folded up and is easy to keep in a purse or a car's glove box. Mostly for the sake of the gift recipients, here's how to fold up the bag.... 1.  Lay the bag pocket side down and fold it length-wise using the edges of the pocket as a guide. 2.  Fold it in half, aligning the top of the handles with the bottom of the bag. 3.  Fold in half again and then reach into pocket with your hand and turn the whole thing (pocket included) inside out. Happy shopping!

Shopping Bags

Most stores in our town charge you a nickel for a plastic bag when you check out. I love this practice and the way that it encourages people to bring their own cloth bags or reuse their plastic ones. My habit of bringing along bags to the grocery store is well established, but I used to find myself stuck at places like the drug store or farmer's market or other impromptu stops. Then I picked up a bag at an upscale kitchen goods store that rolls up quite compactly. Now I keep that in my purse, so I always have a bag with me. I like my bag so much that I wanted to replicate it for the art sale. The final result is a hybrid of the bag I purchased and these that I made last year. The bag is a little bigger than the average plastic grocery bag. The velcro tab is used to keep the bag rolled up, but also can close the top of the bag when it is full. Most of the bag is a single layer of cotton, but the handles are faced. There is a double row of top-stitching around both edges of

The Burda Skirt Again

I'm not sure what prompted it, but awhile ago I decided that I needed a green skirt. The last time I was at Fabricland I saw this green wide-wale corduroy. I wasn't really looking for the skirt to be corduroy and the color was a little different than I was hoping for, but since I had my eyes peeled for awhile and hadn't seen anything better, I thought I'd try the corduroy. After looking for a suitable pattern, I settled on the Burda 2/2010 skirt that I've already used three times . Because of the weight and bulk of the corduroy, I didn't want to try to mess with too many details. I'll use another skirt pattern soon. Really, I will. One of the things I really like about this pattern is the pockets. This time I made the pocket facings and part of the pocket bag out of a cotton woven solid to reduce bulk. Since I'll be wearing this skirt with tights I added a lining. Adding the lining was really simple except that I cut the lining exactly the sam