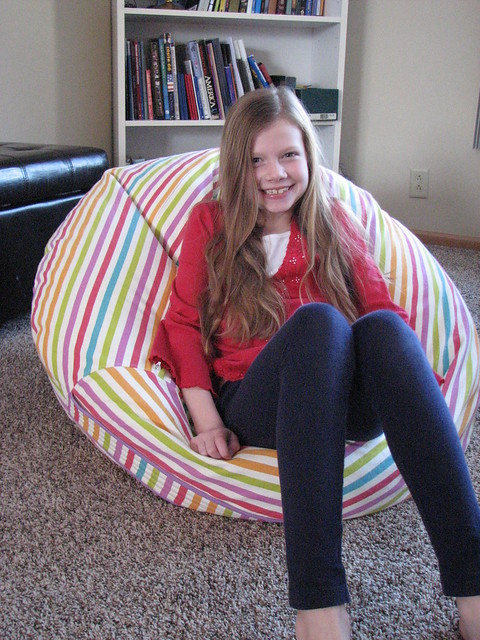
We celebrated my younger daughter's 8th birthday in January. Eight! Sometimes in my mind she still looks like this. One of the things she wanted for her birthday was a bean bag chair. Her brother got one for his birthday last year and she likes to use it whenever he isn't.
I used Dana's Rollie Pollie pattern to make a bean bag chair that was a bit more interesting than one I could purchase. This was not my first time using this pattern. I initially purchased it last spring and used it to make a bean bag chair for a school auction. We used fabric paint and put the students' hand prints on the cut pieces and then assembled it after they were dry. It was a good project and brought in more money than I was expecting.
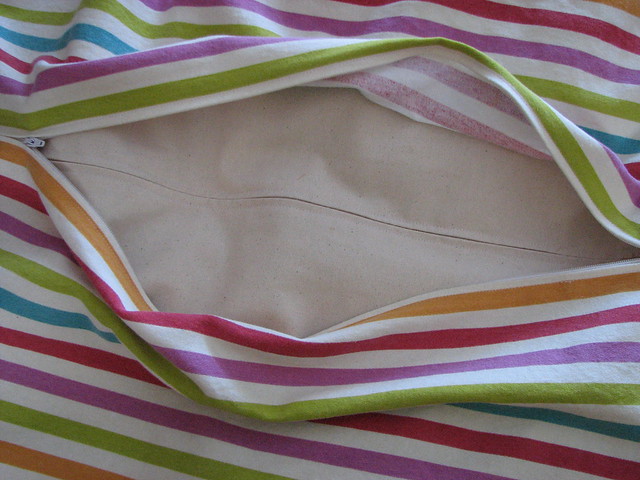
The pattern and instructions are both good. I'd suggest reading through all of the instructions before starting - some things seem a little out of order to me, but it's all there. The only real change I made was to put a zipper in the insert and in the cover (instructions only call for one in the cover). It's good to be able to remove the cover for washing, but bean bag chairs almost always compress/deflate over time and I wanted to be able to refill it.
In the pattern instructions, Dana gives ideas for filling. I used these "beans" (the price has gone up since I ordered). I ordered two boxes of them, but we only used half of the second one. My daughter wanted a little more squish rather than more fullness.
The pattern is basically like a large beach ball - two circles on the ends and the rest of the pieces (4) look like footballs with a bite out of each short end. Assembly is not difficult, but the pieces are large. It took me awhile to find any note about seam allowance. I don't remember where it ended up being in the instructions, but it is 1/2" throughout.
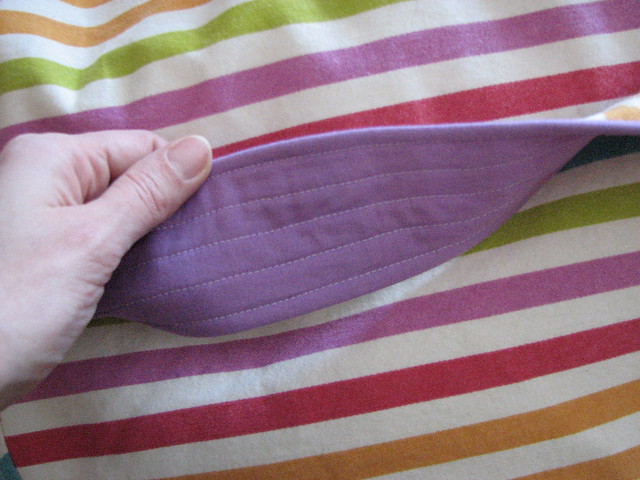
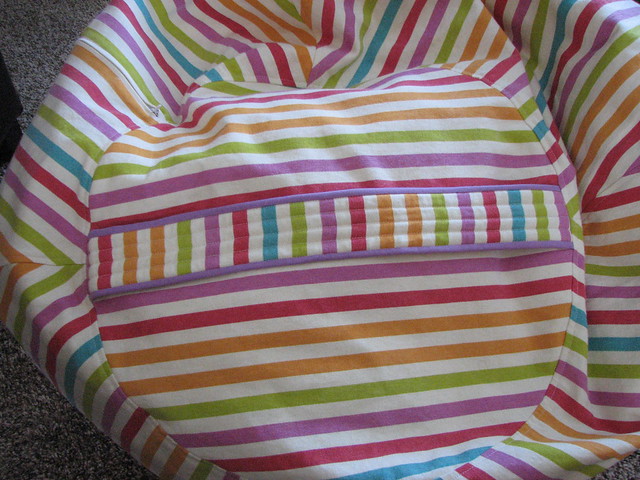
One end has a handle - helpful for dragging it from one room to another or for swinging it at your brother (not that that ever happens here). I sandwiched a piece of fleece in this one to give it some heft. I offered to applique an initial on the other end, but my daughter wanted it plain. On the one I did for the auction, I appliqued the school logo on one of the circles.
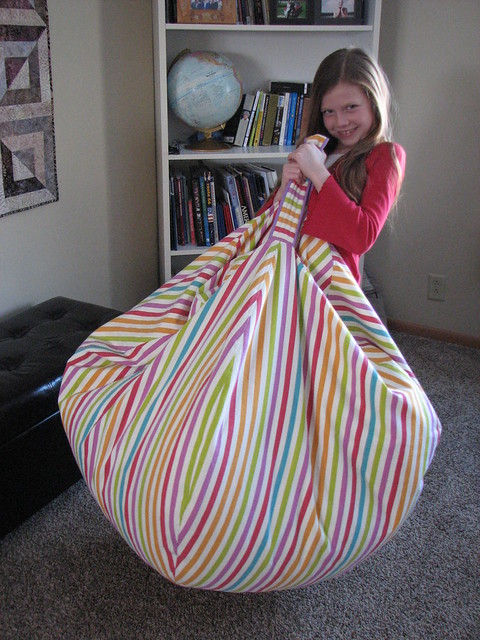
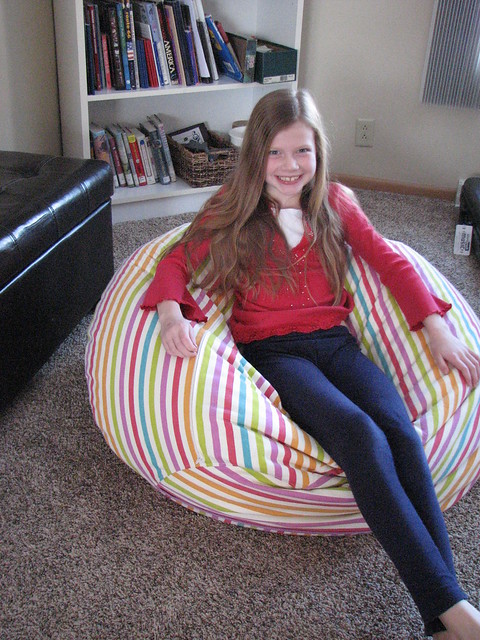
The pattern includes two sizes - this is the large one. It is pretty good size and quite a bit bigger than my son's that we bought. It really produces a nice bean bag chair, but this isn't an inexpensive project. There is a whole lot of fabric between the insert and the cover, plus two looooong zippers, and then the beans. However, if you want to customize it to a child's preference or match a certain decor this is a nice option.
If you have the space and have a kid that likes to flop on the floor or likes soft, comfy spots (my daughter was often dragging pillows and blankets into my sewing room to make a "reading nest" while I was in there) I'd highly recommend this as a project!
I used Dana's Rollie Pollie pattern to make a bean bag chair that was a bit more interesting than one I could purchase. This was not my first time using this pattern. I initially purchased it last spring and used it to make a bean bag chair for a school auction. We used fabric paint and put the students' hand prints on the cut pieces and then assembled it after they were dry. It was a good project and brought in more money than I was expecting.
The pattern and instructions are both good. I'd suggest reading through all of the instructions before starting - some things seem a little out of order to me, but it's all there. The only real change I made was to put a zipper in the insert and in the cover (instructions only call for one in the cover). It's good to be able to remove the cover for washing, but bean bag chairs almost always compress/deflate over time and I wanted to be able to refill it.
In the pattern instructions, Dana gives ideas for filling. I used these "beans" (the price has gone up since I ordered). I ordered two boxes of them, but we only used half of the second one. My daughter wanted a little more squish rather than more fullness.
The pattern is basically like a large beach ball - two circles on the ends and the rest of the pieces (4) look like footballs with a bite out of each short end. Assembly is not difficult, but the pieces are large. It took me awhile to find any note about seam allowance. I don't remember where it ended up being in the instructions, but it is 1/2" throughout.
One end has a handle - helpful for dragging it from one room to another or for swinging it at your brother (not that that ever happens here). I sandwiched a piece of fleece in this one to give it some heft. I offered to applique an initial on the other end, but my daughter wanted it plain. On the one I did for the auction, I appliqued the school logo on one of the circles.
The pattern includes two sizes - this is the large one. It is pretty good size and quite a bit bigger than my son's that we bought. It really produces a nice bean bag chair, but this isn't an inexpensive project. There is a whole lot of fabric between the insert and the cover, plus two looooong zippers, and then the beans. However, if you want to customize it to a child's preference or match a certain decor this is a nice option.
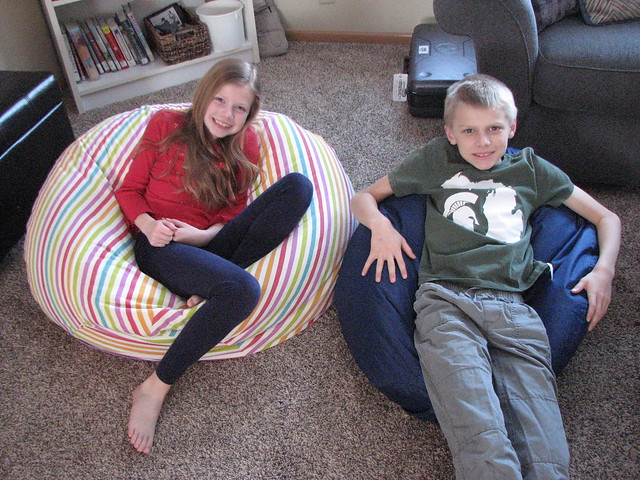
side-by-side comparison: happy, comfy kids
If you have the space and have a kid that likes to flop on the floor or likes soft, comfy spots (my daughter was often dragging pillows and blankets into my sewing room to make a "reading nest" while I was in there) I'd highly recommend this as a project!
Cute beanbag chair! Happy birthday to your precious girl!
ReplyDelete