My kids start school tomorrow. The first day at a new school. They're all excited. It seems like I'm the only nervous one. The backpacks are packed, the lunches made, the clothes laid out. Everything's ready to go!
These two little items are the only back-to-school sewing I've done this year. My younger daughter and I worked on this pencil case together. She sat on my lap and did some of the steering while we were sewing the seams. The fabric choices are hers.
This is a boxy zippered pouch made with this pattern, A Little Duffle Do It. The pattern gives cutting dimensions for four sizes, but I needed one to fit a set of colored pencils and based the dimensions on that. So, this one is longer and thinner than any of the four given choices.
I quilted the outer fabric and lining together with fusible fleece in between. The pattern gives good instructions for cleanly finishing the inside seams using binding, but I was trying to be quick and just zigzagged them instead.
I like how wide it opens and the ribbon tabs on each end make it easy to open and close the zipper.
My son needed a set of ear buds to have at school. They didn't come with a case and I thought we could do better than a ziplock bag. I nabbed this Straight Stitch Society pattern when they were on sale recently and gave my son his choice of animals.
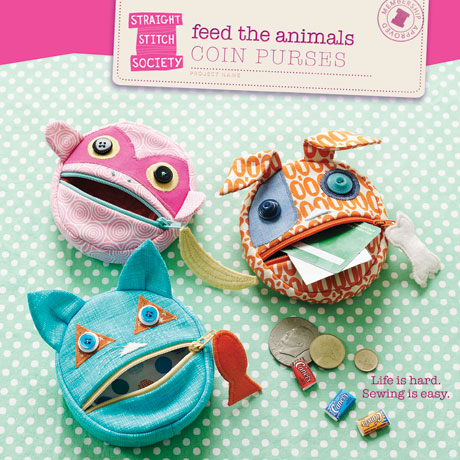
As with all the Liesl + Co patterns, this one is well designed and has great instructions. It is cleanly finished on the inside with only a couple inches of hand stitching to close it up.
It doesn't show up very well against the white background, but I love the little bone zipper pull. My son picked all the fabrics and buttons for the eyes. I wasn't sure I could get that little red one to work inside the orange one, but it was really important to him. And it does look pretty cool, doesn't it?
The finished size is about 4" in diameter and 1.25" in height. I wish the edges were a little crisper. There is a layer of batting between the outer fabric and lining. The batting was trimmed from all seam allowances, but maybe using a canvas or upholstery fabric would provide the heft without the bulk.
In the side view pic above, you can see the small stitches used to keep the ears folded over. It looks like a rabbit before that step. It sure turns out to be a cute little pup!
There will be some school clothes sewing coming up, but for now I'm happy to be sending my kids off to school with these fun little projects of their choosing.
These two little items are the only back-to-school sewing I've done this year. My younger daughter and I worked on this pencil case together. She sat on my lap and did some of the steering while we were sewing the seams. The fabric choices are hers.
I quilted the outer fabric and lining together with fusible fleece in between. The pattern gives good instructions for cleanly finishing the inside seams using binding, but I was trying to be quick and just zigzagged them instead.
I like how wide it opens and the ribbon tabs on each end make it easy to open and close the zipper.
As with all the Liesl + Co patterns, this one is well designed and has great instructions. It is cleanly finished on the inside with only a couple inches of hand stitching to close it up.
It doesn't show up very well against the white background, but I love the little bone zipper pull. My son picked all the fabrics and buttons for the eyes. I wasn't sure I could get that little red one to work inside the orange one, but it was really important to him. And it does look pretty cool, doesn't it?
The finished size is about 4" in diameter and 1.25" in height. I wish the edges were a little crisper. There is a layer of batting between the outer fabric and lining. The batting was trimmed from all seam allowances, but maybe using a canvas or upholstery fabric would provide the heft without the bulk.
In the side view pic above, you can see the small stitches used to keep the ears folded over. It looks like a rabbit before that step. It sure turns out to be a cute little pup!
There will be some school clothes sewing coming up, but for now I'm happy to be sending my kids off to school with these fun little projects of their choosing.
How cute!
ReplyDelete