This fall, my want-to-sew list seems to have a lot of items on it that have new-to-me elements. Whether it's the style or the fabric, I'm eager to try some things that I haven't done before. As always, the want-to-sew list won't be entirely completed but I think it's good to have the inspiration and ideas.
One of the things on the list was printed pants. They moved to the top of the list when someone gave me some printed denim. Since making another pair of shorts like these at the beginning of the summer (never blogged them) I've been curious if I could alter that pattern to a traditional jeans look.
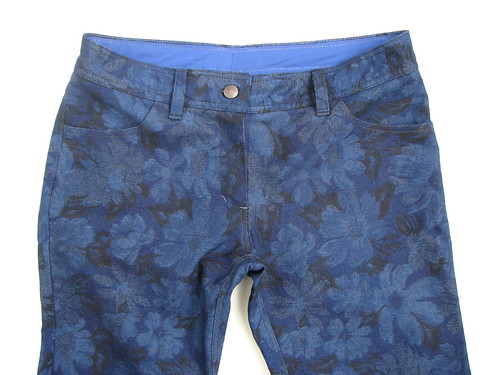
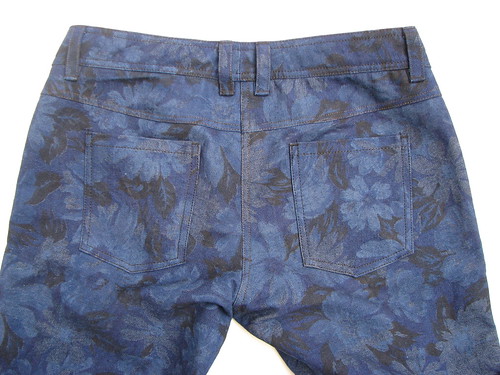
For the alterations, I started with making the pant legs narrower. This article from Threads was a big help and gave me good results. Then I cut off the top of the back piece to create a yoke and incorporated the dart by overlapping it along the dart stitching lines. On the front, I drew different shaped pockets and created the facing and pocket bag pieces to go along with them. I did a quick muslin and was happy with the changes.
Jeans take awhile to make, but I didn't find it took any longer than the trouser-style pants I usually make with welt pockets. I didn't add any rivets or back pocket detailing. I thought there was enough going on already.
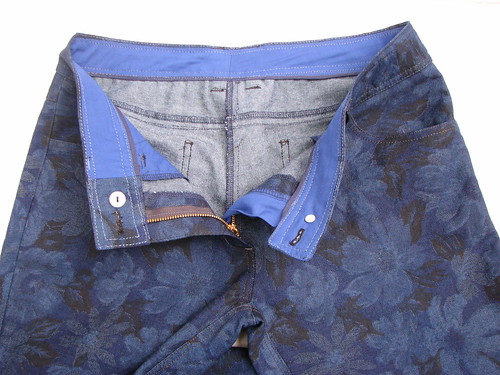
I had a little trouble with the waistband. I used a poly-cotton broadcloth to face the waistband and I think it shrunk while I was pressing it. It's possible it was not pre-washed. I forged ahead even though I thought maybe I should scrap it and start over. In the end, it isn't very pretty, but it does work.
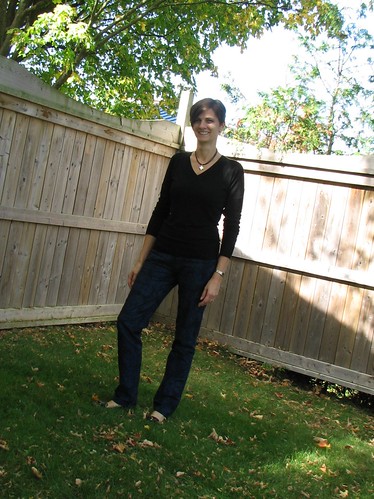
My five-year-old daughter was my photographer for these shots. We had a lot of fun, but didn't end up with good pictures. Lots of weird angles and shots at inopportune times...

I'm happy with how the jeans turned out - both the new pattern and the printed fabric. Win, win!
One of the things on the list was printed pants. They moved to the top of the list when someone gave me some printed denim. Since making another pair of shorts like these at the beginning of the summer (never blogged them) I've been curious if I could alter that pattern to a traditional jeans look.
For the alterations, I started with making the pant legs narrower. This article from Threads was a big help and gave me good results. Then I cut off the top of the back piece to create a yoke and incorporated the dart by overlapping it along the dart stitching lines. On the front, I drew different shaped pockets and created the facing and pocket bag pieces to go along with them. I did a quick muslin and was happy with the changes.
Jeans take awhile to make, but I didn't find it took any longer than the trouser-style pants I usually make with welt pockets. I didn't add any rivets or back pocket detailing. I thought there was enough going on already.
I had a little trouble with the waistband. I used a poly-cotton broadcloth to face the waistband and I think it shrunk while I was pressing it. It's possible it was not pre-washed. I forged ahead even though I thought maybe I should scrap it and start over. In the end, it isn't very pretty, but it does work.
My five-year-old daughter was my photographer for these shots. We had a lot of fun, but didn't end up with good pictures. Lots of weird angles and shots at inopportune times...
I'm happy with how the jeans turned out - both the new pattern and the printed fabric. Win, win!
The do look great on you and I like the fabric. Good denim is so hard to
ReplyDeleteOops. Hit enter too quick :)!.....hard to find .
ReplyDeleteSuper cute!
ReplyDelete