Strange to be posting a sundress now, I know. I made this in July, but haven't gotten around the taking pictures or writing about it until now. I admire those who can blog in real time. Mine gets pushed to the bottom of the list most of the time.
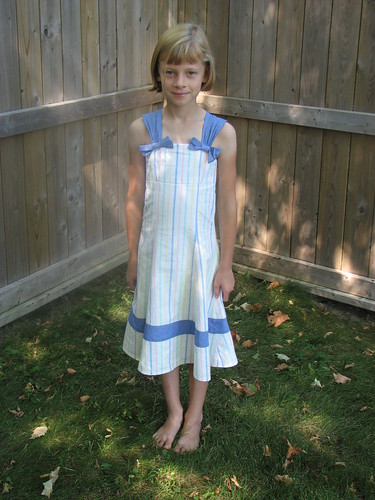
This is Simplicity 4721, a pattern that I don't remember buying at all. My copy has a bright orange "SALE $0.99" sticker slapped on the front, but that isn't even triggering any memories. Anyway, it seemed like a good choice when I was perusing the pattern stash for a summer dress for my daughter. I wanted something other than the full, gathered skirt I often gravitate toward. I started with a size 4 and added gobs of length - some to the bodice and more distributed through the skirt.
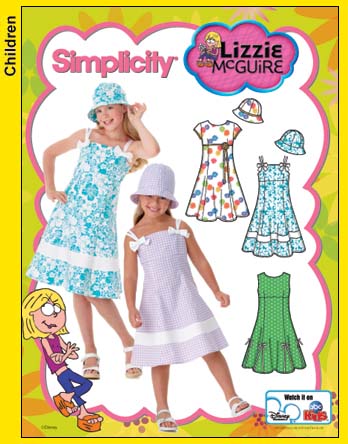
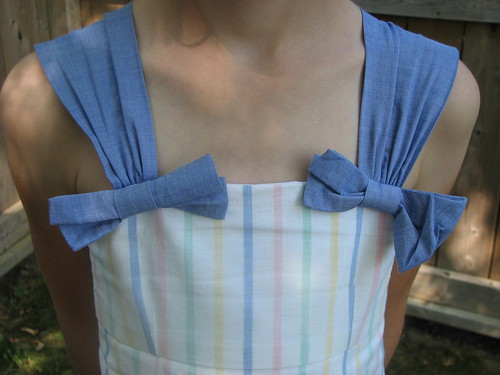
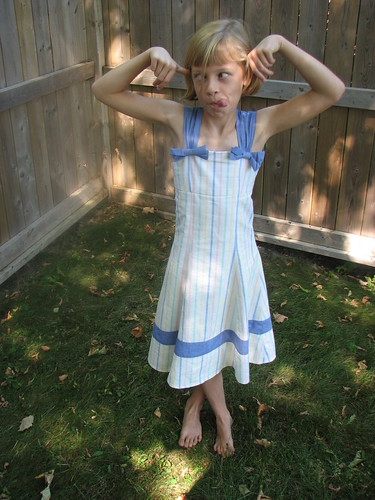
It looks like the narrow straps on the envelope models' dresses are falling off their shoulders. That could probably be fixed by moving them toward the center front more, but I also wanted a little more coverage. So, I changed to these wide straps gathered at the bottoms. Here the bows are looking rather rumpled.
The back of the dress has an invisible zipper. I used Tasia's tutorial for attaching the lining to the zipper by machine and found it worked really well.
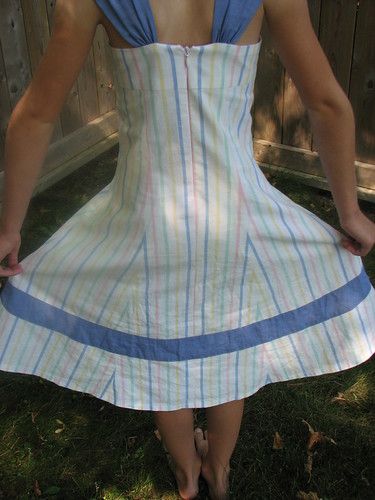
This dress tested my stripe matching skills. Each piece was cut out single layer. After I cut out one piece, then I'd figure out where the next one had to go. The fabric (an old bed sheet) didn't have a right or wrong side, adding to the complexity. The process of cutting out the dress took longer than actually sewing it up.
Since my daughter won't agree to be photographed without being silly, I'll leave you with this...
This is Simplicity 4721, a pattern that I don't remember buying at all. My copy has a bright orange "SALE $0.99" sticker slapped on the front, but that isn't even triggering any memories. Anyway, it seemed like a good choice when I was perusing the pattern stash for a summer dress for my daughter. I wanted something other than the full, gathered skirt I often gravitate toward. I started with a size 4 and added gobs of length - some to the bodice and more distributed through the skirt.
It looks like the narrow straps on the envelope models' dresses are falling off their shoulders. That could probably be fixed by moving them toward the center front more, but I also wanted a little more coverage. So, I changed to these wide straps gathered at the bottoms. Here the bows are looking rather rumpled.
The back of the dress has an invisible zipper. I used Tasia's tutorial for attaching the lining to the zipper by machine and found it worked really well.
This dress tested my stripe matching skills. Each piece was cut out single layer. After I cut out one piece, then I'd figure out where the next one had to go. The fabric (an old bed sheet) didn't have a right or wrong side, adding to the complexity. The process of cutting out the dress took longer than actually sewing it up.
Since my daughter won't agree to be photographed without being silly, I'll leave you with this...
hi renee
ReplyDeleteI'm your new follower!! your blog is great,you are very creative
hugs, vivi from argentina