We're just wrapping up our March break week here. Other than some sickness, we had a good week. For the most part, we kept busy with good and simple things close to home. One of the days I invited the kids into the sewing room to work on a project together.
I saw these little house ornaments on Pinterest and wanted to give them a try. The kids got to pick out the fabrics, trim, button, and ribbon that they wanted to use from my stash.
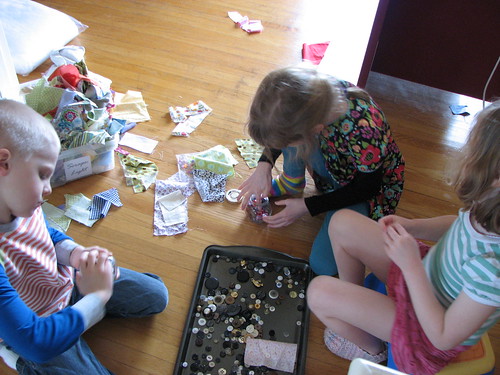
We made a big mess, but it was fun. I did all the sewing and ironing and did some prep work the day before to make sure things kept moving. In the interest of simplification, we left off the bird and house number included in the tutorial. The kids liked getting to choose all the parts, but they loved doing the stuffing part.
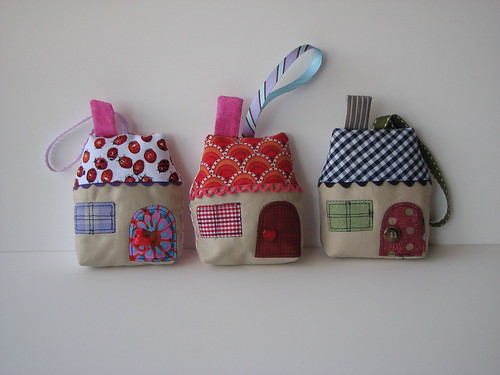
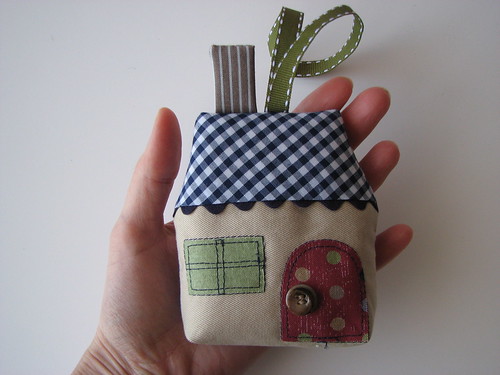
Each of the houses has their own unique mix and it was fun to see their choices (not always what I would have guessed!). Here is my house in my hand for scale purposes.
I saw these little house ornaments on Pinterest and wanted to give them a try. The kids got to pick out the fabrics, trim, button, and ribbon that they wanted to use from my stash.
We made a big mess, but it was fun. I did all the sewing and ironing and did some prep work the day before to make sure things kept moving. In the interest of simplification, we left off the bird and house number included in the tutorial. The kids liked getting to choose all the parts, but they loved doing the stuffing part.
Each of the houses has their own unique mix and it was fun to see their choices (not always what I would have guessed!). Here is my house in my hand for scale purposes.
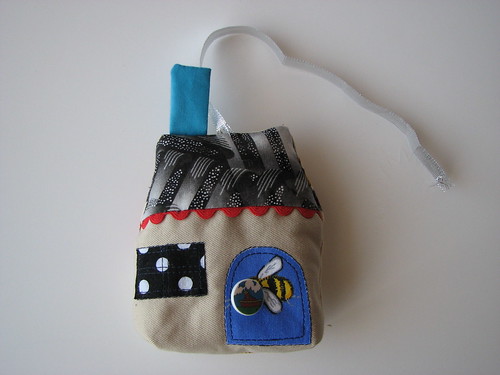
The three houses pictured above are my two daughters' and mine. As soon as my son's was finished, he promptly whipped it around on his finger like a slingshot with as much enthusiasm as a six-year-old boy has for such efforts and now his looks like this:
*sigh* Boys.
And, yes, he did specifically ask me to sew that ship button right on the bee's head.
How adorable!
ReplyDeleteThese are super cute!
ReplyDeleteAh, fun times! I think my boys would enjoy this project too. Thanks for sharing.
ReplyDeleteReally cute idea! I just wanted to say also that I left you a Sunshine award at my blog that you can pick up at http://mamamademine.blogspot.com/2012/03/spreading-little-love.html
ReplyDelete