Last summer I made my first attempt at sewing swimwear for myself. Overall, that suit was a success but having worn it several times now, there are some things I'd like to change about it. Instead of tweaking that same pattern, I made a new suit using a tankini pattern from Ottobre Woman 2/2011.
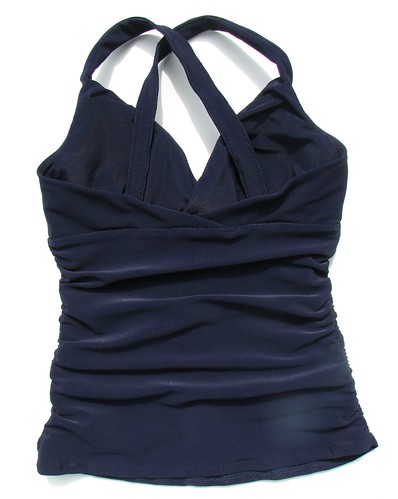
It's actually really similar to the suit I made last year: halter-style tankini with midriff ruching. So why make another suit so much like the first one? There are a couple of things I don't like about last year's suit: the top just barely meets the bottom which means I'm often tugging it down and the knot part of the halter hurts my neck after a couple of hours of wear. But, I do really like the style, so I wanted to change the parts I didn't like and keep the parts I do.
I don't really know what to say about how I constructed this suit. Ottobre's instructions are quite good, but I didn't follow them much. The main reason is because I put a bra inside the top. The overlapping front pieces made that a bit of a challenge and I don't think I could really explain to you how I did it if I had to. I can tell you that it involved a whole lot of trying on, pinning, hand-stitching, and then more trying on. I'm convinced it's all together securely, but my techniques would have to be described as dodgy at best.
The bra is sandwiched between the lining and outer fabric and is attached to the lining at the sides and the point where the strap starts. And then the rest of the bra was trimmed away beyond those points so it doesn't go around the back or over the shoulders. Yes, a perfectly good bra gave its life up for this suit, but I think the sacrifice was worth it.
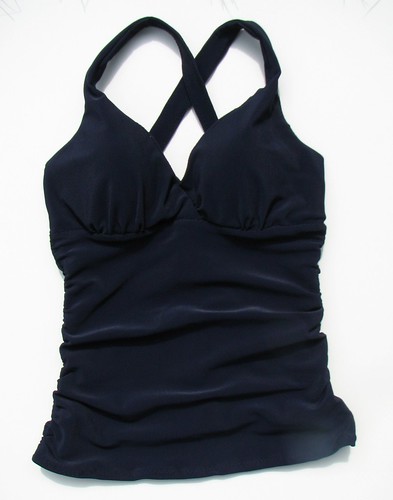
Since the halter-style proves uncomfortable for me, I decided to cross the straps in back and attach them. While I really like the halter look, I think I'll enjoy wearing this more.
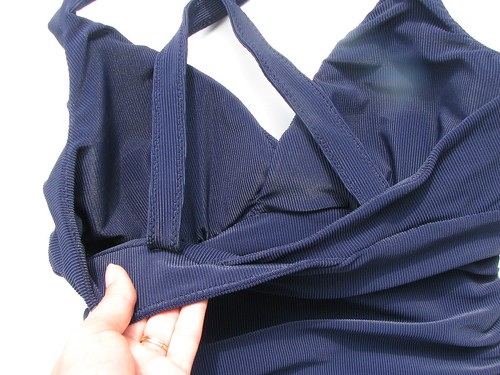
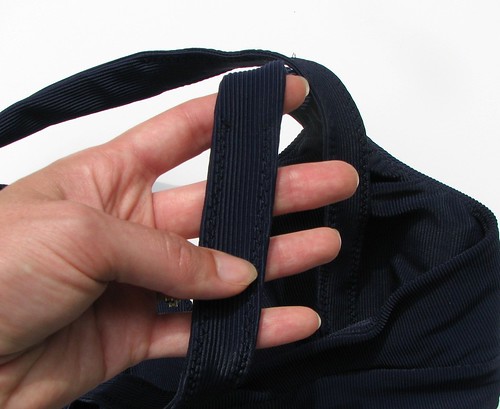
The fabric is pretty thick and spongy and ribbed. Most of those are good things for this suit, but it meant that the straps would not stay flat. I didn't want topstitching on the front but I didn't want sloppy straps, either. I compromised by zigzagging the straps in the back, but not the front. A little strange, but it does what I wanted it to. The front part of the straps do stay flat when I'm wearing it.
I was happy with the bottom of my last suit, so I just used that same pattern (Kwik Sew 3238), adding 1/2" in height to the top.
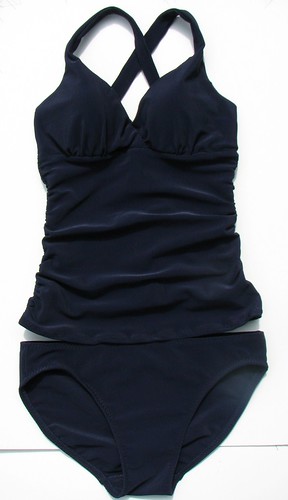
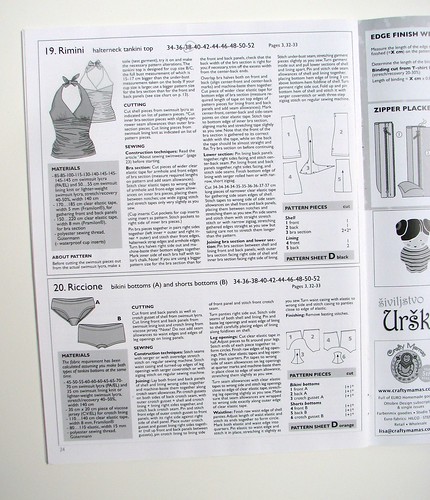
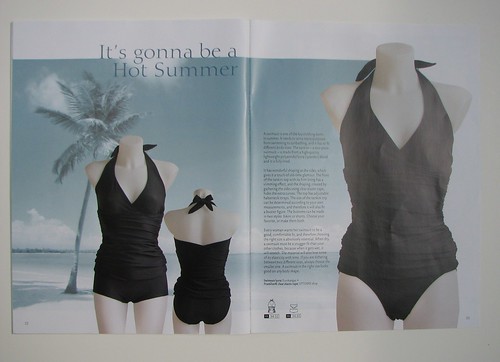
I don't think I'm going to have any problem with the top and bottom not overlapping with this suit. The pattern for the top is really long. I trimmed a little more than 3" off it and I'm 5'9". You can see in the picture from the magazine that the top ends below the top of the leg openings.
I think I'm going to find this to be a comfortable swimsuit. I highly recommend this pattern. This is the first Ottobre woman pattern I've used. Other than shortening the top length, I didn't make any other changes.
It's actually really similar to the suit I made last year: halter-style tankini with midriff ruching. So why make another suit so much like the first one? There are a couple of things I don't like about last year's suit: the top just barely meets the bottom which means I'm often tugging it down and the knot part of the halter hurts my neck after a couple of hours of wear. But, I do really like the style, so I wanted to change the parts I didn't like and keep the parts I do.
I don't really know what to say about how I constructed this suit. Ottobre's instructions are quite good, but I didn't follow them much. The main reason is because I put a bra inside the top. The overlapping front pieces made that a bit of a challenge and I don't think I could really explain to you how I did it if I had to. I can tell you that it involved a whole lot of trying on, pinning, hand-stitching, and then more trying on. I'm convinced it's all together securely, but my techniques would have to be described as dodgy at best.
I was happy with the bottom of my last suit, so I just used that same pattern (Kwik Sew 3238), adding 1/2" in height to the top.
I think I'm going to find this to be a comfortable swimsuit. I highly recommend this pattern. This is the first Ottobre woman pattern I've used. Other than shortening the top length, I didn't make any other changes.
Super cute suit!
ReplyDeleteYou know, I never would have guessed that you are 5'9". That means that your clothes are perfectly suited for your body type. Yah! I have so much to learn from you.
I did the same thing when making this suit - put a bra in it! I love it and wear it all the time since we swim almost daily in the summer.
ReplyDeleteFantastic. I've never attempted a swimsuit but yours is so inspiring. Bravo!
ReplyDeleteIt sounds like it will be very comfortable and it looks great. I like the look of the fabric.
ReplyDeleteVery pretty! It looks just like the one in Ottobre's magazine!
ReplyDeleteWhere did you find you fabric? Searching for some ribbed swimwear fabric but haven't been able to find any :) Thanks!
ReplyDelete