I quilted! There is a lovely quilt shop near my mom's house that offers a Gammill longarm quilting machine for rent. So, I took my flimsy, quilt back and batting along when we went to visit her. Before you can use the machine, you have to take a one-on-one class where they teach you about the machine and different quilting patterns. After the instruction, you're left with some time to practice the patterns.
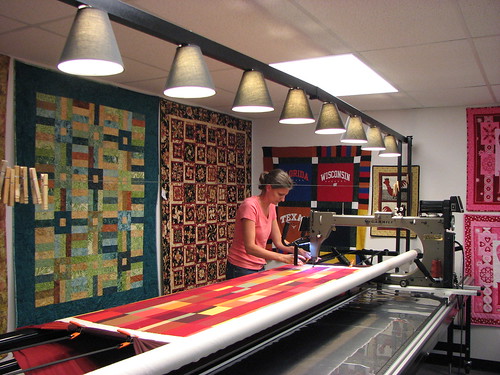
I went back another day to do my quilt. A very minimal amount of the class was about loading the quilt on the machine, so most of that was new on the second visit. I don't remember exactly how all the quilt parts are put in the machine, but I do know I thought it was quite genius. The quilt back and top are attached to separate rollers that keep the fabric straight and taut. The quilt sandwich gets rolled or unrolled in order to quilt certain parts.
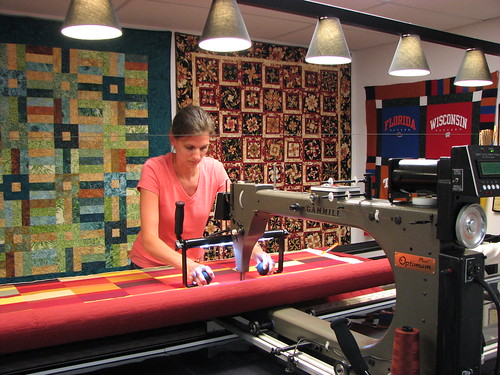
You stand at the end of the machine and move it instead of the quilt. The speed that the machine stitches is regulated by how fast you move it. So the stitches are always uniform regardless of your speed. This is very different from home sewing machines and I really liked this feature! It might be tough to go back to free motion quilting on my own machine.
You work from left to right across a 20" (approximately - I think the machines come in different sizes) section of the quilt. My instructor suggested I work in 18" blocks - first from top to bottom, then bottom to top, still maintaining the left to right pattern as well. When that 20" section is complete, you roll it up and start on the next one.
For most of the class, I controlled the machine with the upright handles. Then we got into some finer, smaller work and my instructor introduced the smaller, lower handles. (They were turned up behind the machine initially). I found it so much easier to control the machine using these. I didn't go back to the larger handles after that.
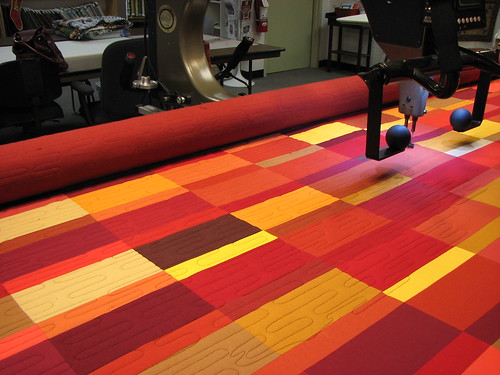
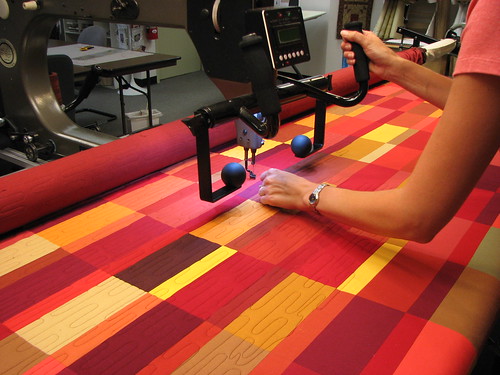
I used this "water" pattern over the whole quilt. It was my favorite of the ones I learned in the class and it was also the same as what was used in the quilt pattern. You can also see in the picture above where some of the finished quilt is rolled up.
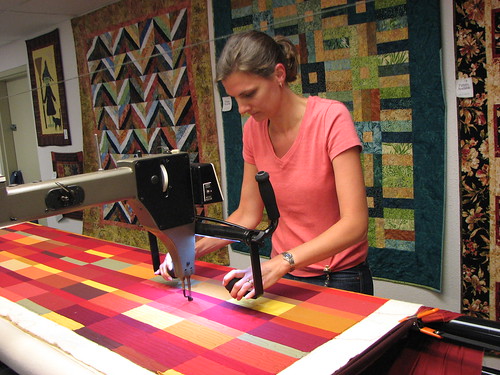
The only part of the experience that was less than ideal was the fact that the thread kept breaking. It was a bit of a puzzlement to my instructor, but she was very patient about fixing it each time. After awhile I was able to rethread the uncomplicated part of the machine myself and get going again a little quicker. I got pretty good at securing the thread and retracing my stitches to make sure it was secure (that's what I'm doing in the picture above).
I'm really happy with how it turned out. This afternoon I attached the binding, but I'm going to finish it by hand, so it might be awhile before I have a completed quilt to show you.
I went back another day to do my quilt. A very minimal amount of the class was about loading the quilt on the machine, so most of that was new on the second visit. I don't remember exactly how all the quilt parts are put in the machine, but I do know I thought it was quite genius. The quilt back and top are attached to separate rollers that keep the fabric straight and taut. The quilt sandwich gets rolled or unrolled in order to quilt certain parts.
I'm really happy with how it turned out. This afternoon I attached the binding, but I'm going to finish it by hand, so it might be awhile before I have a completed quilt to show you.
The colors of your quilt are yummy! It's gorgeous!
ReplyDeleteWOW it looks amazing! and it sounds like a much better and more fun way to finish such a big quilt. I like the pattern you used.
ReplyDeleteI'm not a quilter but I love looking at them and yours is fantastic. Wonderful colors and lovely quilt design. A friend of mine bought one of these very machines for home (and eventually home business) use but what a clever idea to rent the time on one. I'm going to share your post with her.
ReplyDeleteThat is a pretty quilt! I have never heard of one of those machines before, it certainly sounds neat.
ReplyDeleteWhat a neat experience to use this type of machine to finish your quilt!
ReplyDelete