When I bought these two fabrics, I thought they would be for a skirt and top. But, I'm enjoying adding casual dresses to my closet lately, so I used the two together in a dress (Simplicity 2443) instead.
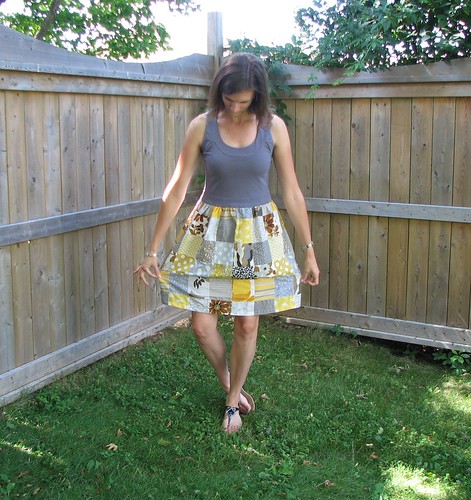
This is an all together different look for me - different style, different colors. And, I'm not really sure what I think about it. I don't think it's the most flattering shape for me, but I think it's a pretty cute dress.
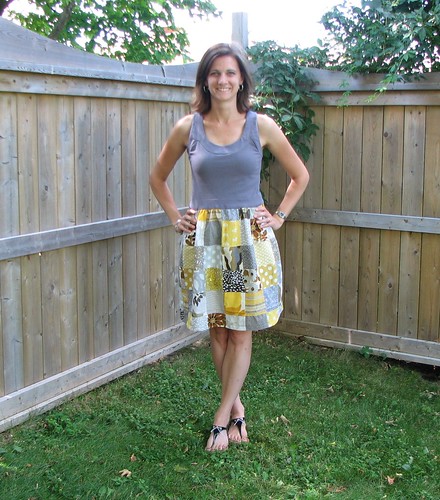
Construction-wise, this isn't executed all that well. There are some ripples under my arms. I did make a muslin of the bodice and felt like the neckline was too low in the front for me to wear it comfortably. But, I didn't want to add a lot to the band since that would ruin the proportions. I debated about what to do for awhile and then decided to raise the neckline a bit by adding (3/8") to the band. I figured that was simple enough, but wasn't enough to make the band width very noticeably different from the rest. I also shortened the straps at the shoulder seams by 1/2".
This made the armholes too tight. I didn't notice this problem after adjusting the muslin, but the lack of finishing seams may have had something to do with it. After getting the bands attached on the real thing and noticing this problem, I took them off, trimmed 1/4 - 3/8" off the bodice under the arms and reattached the bands. But, some stretching and distorting happened in the process and even after messing with them for awhile, they still aren't looking good. I could re-do the entire bodice (I have enough fabric), but I'm not sure this is a dress I'm going to love, so I'm not sure the effort would be worth it right now. We'll see...
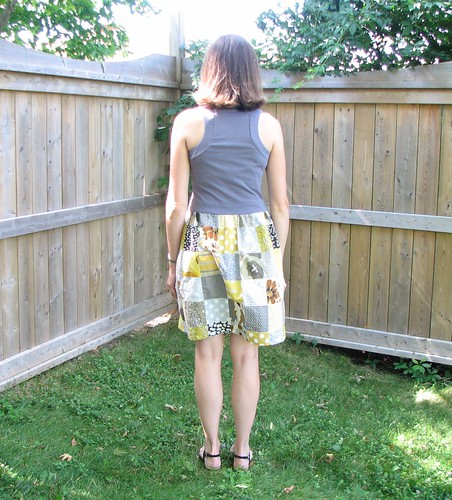
And there's the racer back. I do like that part. I noticed the pulling across the shoulder blades in the muslin and added 1/2" at the center back to compensate. I guess that wasn't enough.
In the end, I think it's fun to have something different in my closet, but I won't be reaching for this dress frequently.
This made the armholes too tight. I didn't notice this problem after adjusting the muslin, but the lack of finishing seams may have had something to do with it. After getting the bands attached on the real thing and noticing this problem, I took them off, trimmed 1/4 - 3/8" off the bodice under the arms and reattached the bands. But, some stretching and distorting happened in the process and even after messing with them for awhile, they still aren't looking good. I could re-do the entire bodice (I have enough fabric), but I'm not sure this is a dress I'm going to love, so I'm not sure the effort would be worth it right now. We'll see...
Alterations and changes I made:
- Added 1.5" in length to front bodice and 1.25" in length to the back bodice
- Shortened shoulder straps by 1/2"
- Decreased skirt length by 1.5"
- Added 1/2" in width to CB of bodice and bands
- Cut waistband piece from same fabric as bodice (rather than skirt as shown for view B)
- Cut front and back bodice twice since the fabric was thin (like adding a lining)
- Left out zipper
In the end, I think it's fun to have something different in my closet, but I won't be reaching for this dress frequently.
I DO like this dress on you and this dress in general (I want to make it too).You need to widen the back and lower armholes? if this is impossible with this body? then make the new one.
ReplyDeleteThis dress need embellishments - a belt in brown or yellow colors of the skirt and something around the neck- jewelry or embellish the top itself with Swarowsky. Nice to meet you!
It looks great on you!
ReplyDeleteCool dress! Love the mix of fabrics!
ReplyDeleteI think this dress looks nice on you. I have been including some of these dresses this summer and I really do like them ~ a -lot :)) they are different from what I would normally wear but they are so comfortable in this heat.
ReplyDeleteIt took awhile to get use to them but I do reach for them often on hot days. I love the fabric you used.