For the last year or so, all of my quilting cotton fabric has been spread out on our ping pong table in the basement. Prior to that, it was all in a big box and I would dump it out when I needed something and then scoop it all back up into the box. Leaving it all spread out was much nicer, but also messier. And, it didn't make it easy to find what I needed. I would have to paw through all the fabric and often pieces would get buried and forgotten. It was time for a change.
This post from Anina of The Twiddletails Blog was just the inspiration I needed to get the mess organized. Several weeks ago, I sorted the fabric into color groups and got the right size containers. Since then, I've been gradually ironing and folding it all one group at a time in between other projects.
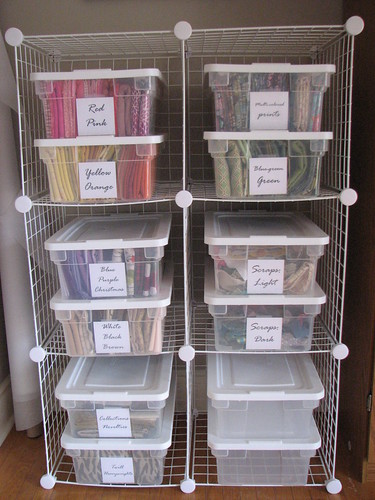
When I finished my coat, I gave my sewing space a thorough cleaning and then felt like it was time to move the organized fabric in. There used to be a rocking chair in the corner where the fabric is now. The wire crate shelving isn't the sturdiest, but it's what I had and it fit the intended purpose.
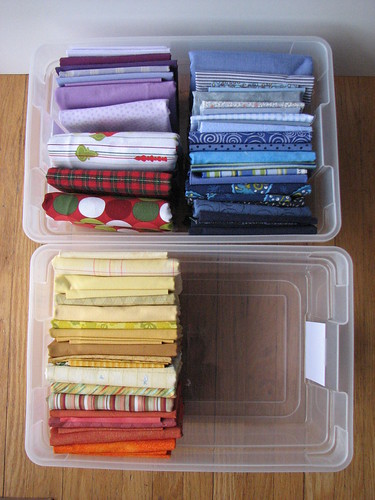
There is a link to the fabric folding guidelines in the post I linked to above. Inside the boxes, the fabric looks like this:
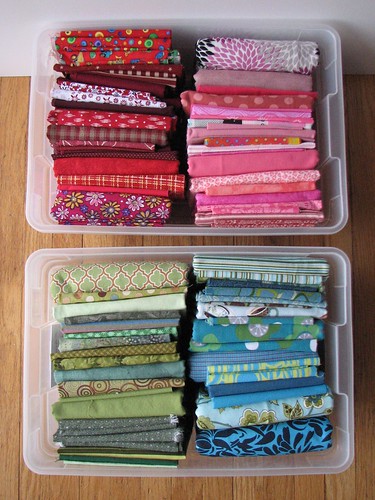
These boxes of fabric make me ridiculously happy. It feels a bit like I have my own little quilt shop. Going through every piece of fabric reminded me of a lot of things that I would like to make.
Purple and orange are my smallest collections. It's good to have some room to expand in case I want to change that. There are also two entirely empty bins in one of the cubbies. I'm not sure what to do with that spot yet.
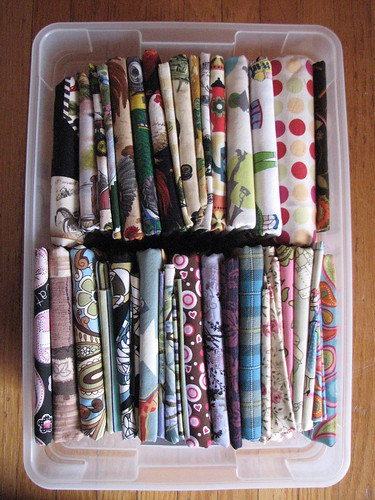
Comparatively, I have a lot of multi-colored prints and I just lumped them all together rather than trying to determine a dominant color.
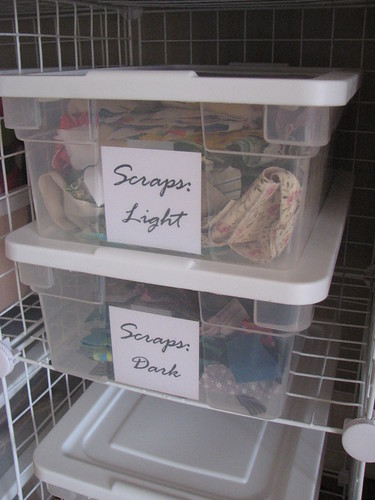
Previously, all of my scraps were just mixed in with the larger cuts. I think this is an improvement.
Honestly, this picture below is how it will often look. That would be my ironing pile on the top. The chair that was there before often held the ironing and I'm not all that convinced that this new storage system will affect my propensity to iron promptly after wash day.

This post from Anina of The Twiddletails Blog was just the inspiration I needed to get the mess organized. Several weeks ago, I sorted the fabric into color groups and got the right size containers. Since then, I've been gradually ironing and folding it all one group at a time in between other projects.
When I finished my coat, I gave my sewing space a thorough cleaning and then felt like it was time to move the organized fabric in. There used to be a rocking chair in the corner where the fabric is now. The wire crate shelving isn't the sturdiest, but it's what I had and it fit the intended purpose.
Purple and orange are my smallest collections. It's good to have some room to expand in case I want to change that. There are also two entirely empty bins in one of the cubbies. I'm not sure what to do with that spot yet.
Comparatively, I have a lot of multi-colored prints and I just lumped them all together rather than trying to determine a dominant color.
Honestly, this picture below is how it will often look. That would be my ironing pile on the top. The chair that was there before often held the ironing and I'm not all that convinced that this new storage system will affect my propensity to iron promptly after wash day.
The combination of getting all of this fabric organized and the hole left in my garment fabric stash by all that coating fabric being used up inspired me to clean out my garment fabric closet, too. It's ready for me to move some NYC purchases in. :)
And, finally, thanks for the comments on my coat. I used all the steam that my own iron could put out, but I hadn't thought about taking it to a cleaners to see what they could do. I might try that.
Fantastic job on the organization. The bins look so pretty with all the colors.
ReplyDeleteNice job! The bins do make all the fabric look so neat and well organized. I do like this a lot.
ReplyDeleteLove it! Any tips on organizing patterns? Mine are getting out of hand!
ReplyDeleteSome day I hope my sewing area looks as organized!
ReplyDeleteHey I liked the beautiful work you did
ReplyDeleteI'm following
kisses from Brazil
http://munamo.blogspot.com/