After muslining, altering, lining drafting, and cutting, the sewing has begun. And I think it's going to be better, easier and more enjoyable than I initially thought. In case I found that I needed to make adjustments to machine settings or technique, I decided to start with the small parts of the coat. That way if I messed up anything too badly, I could still re-cut it and start over.
So far, so good:
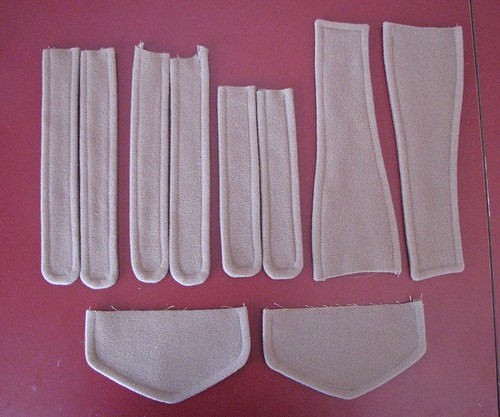
These are shoulder tabs (2 sets), sleeve tabs, back latch pieces, and pocket flaps.
The pieces aren't perfect, particularly noticeable when they're all lined up next to each other, but I'm still happy with them. Even though the pieces are small, it took awhile to finish them since each needed to be stitched, trimmed, turned, pressed and topstitched. This fabric doesn't like to be turned - it seems a little velcro-like and wants to stick to itself rather than sliding over.
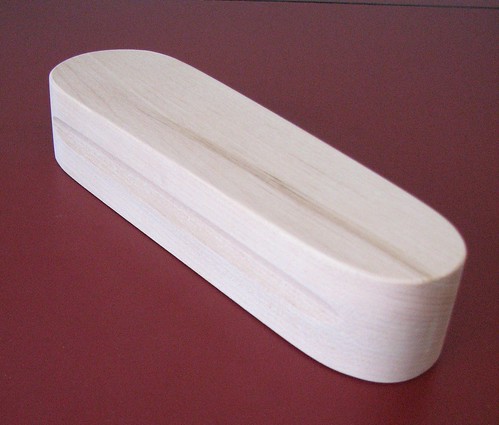
The pressing part went well thanks to my new toy tool. If you, like The Preacher, are wondering why in the world I bought a block of wood to use in my sewing space, let me tell you that this is called a clapper. Not the "clap on, clap off" sort of clapper. From Tailoring: The Classic Guide to Sewing the Perfect Jacket: "A clapper is a rounded wooden block used to flatten seams, folds, creases, and enclosed edges, such as facings and collars. Cool hardwood speeds steam removal and cooling to set the press." I've already found it to be a good addition to my toolbox and there is a lot more pressing to come.
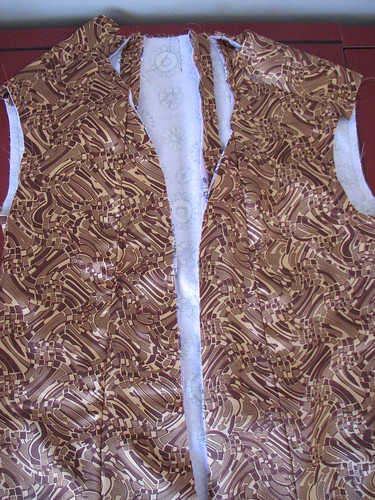
The lining is as assembled as it can be before it goes into the coat. It needs to be attached to the facing before the shoulder seams can be sewn and the sleeves set in. I'm hoping that having the lining and small pieces done will make it feel like the coat comes together quickly. That will help me maintain momentum. :)
So far, so good:
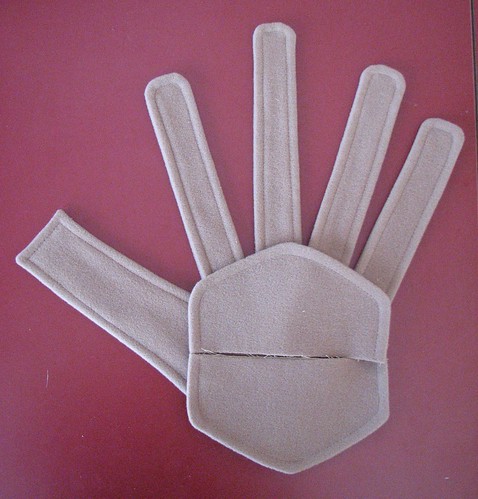
Heh, heh...the tabs struck me as finger-like...I couldn't resist.
Wow, you work fast! I like the design of the lining!
ReplyDeleteLove the hand. Too funny. Your coat is coming along nicely.
ReplyDeleteI just found your blog and I'm so inspired!
ReplyDeleteThanks for all the great ideas and pics!