In my last post I mentioned that I was working on making some dolls. Actually, they are angels. However, that fact didn't really make them any more enjoyable for me to sew.
These are for M's shop here in my town. Someone else had been sewing these for her, but she was no longer interested in doing it. So, she asked if I would. I agreed and started with two.
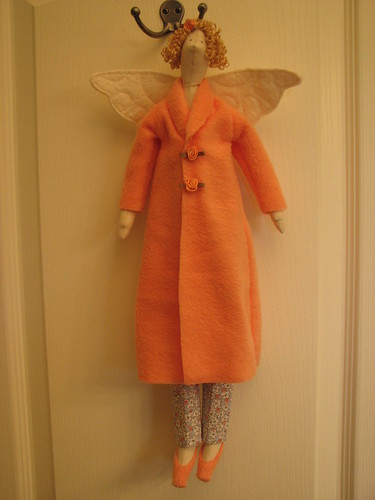
It is hard to tell what size they are from the picture, but from head to toe, they are about 18" long.
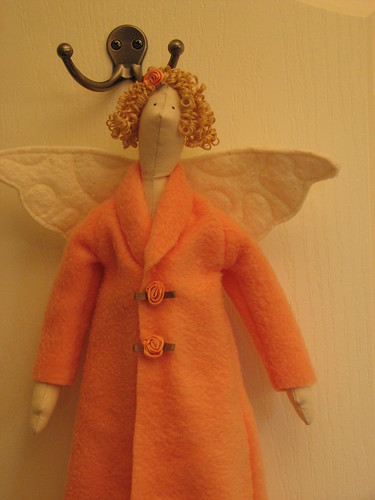
I found the hair styling to be the hardest part of the project. The hair on the angel above is embroidery floss. I wrapped it around a knitting needle, got it soaking wet and then let it dry overnight. When you pull it off of the needle, it stays very curly. I tried this first because I really wanted to use materials that I already had. But, I wasn't all that impressed and the angels made by the other woman had the special hair that you buy for making dolls. So, I thought I should try that, too.
In the end, (and close up) the hair doesn't look all that different. The ringlets are a little bigger and it's easier to get more volume, but I could probably get the same effect using a bigger knitting needle.
Generally, I'm unimpressed with these angels. I'm not sure who buys these or what they do with them after they buy them. My daughter, however, was quite in awe. "Oh, mom! These angels are beautiful! I think everyone will want to buy one!" Yikes. I hope not. I'd be okay if it was a good long while before I made these again. :)
Next Up: hot water bottle covers - also for M's store.
These are for M's shop here in my town. Someone else had been sewing these for her, but she was no longer interested in doing it. So, she asked if I would. I agreed and started with two.
It is hard to tell what size they are from the picture, but from head to toe, they are about 18" long.
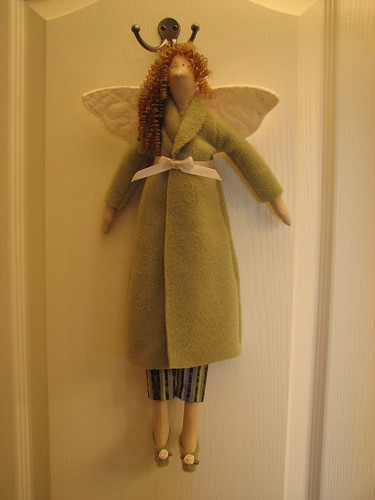
(Her legs are the same length in real life!)
Generally, I'm unimpressed with these angels. I'm not sure who buys these or what they do with them after they buy them. My daughter, however, was quite in awe. "Oh, mom! These angels are beautiful! I think everyone will want to buy one!" Yikes. I hope not. I'd be okay if it was a good long while before I made these again. :)
Next Up: hot water bottle covers - also for M's store.
They are cute! They look like they took some time to make!
ReplyDeleteIt doesn't sound like you had a lot of fun making them but you did a really great job, they actually look cute :) and from your daughters reaction ~ be prepared for some more orders ;)
ReplyDeleteThey ARE beautiful, and their proportions really make them look other worldly - I love the little rosettes - they are so sweet and unexpected.
ReplyDelete