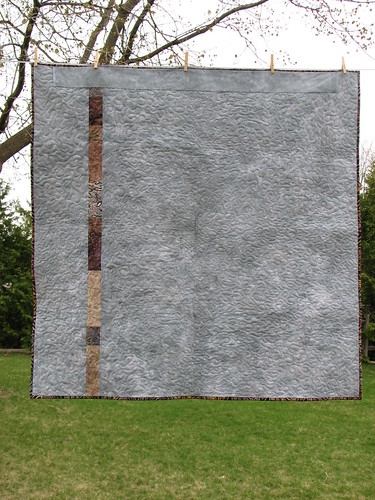
Today was the first day this week that we didn't have rain or snow, so I headed outside to photograph the quilt.
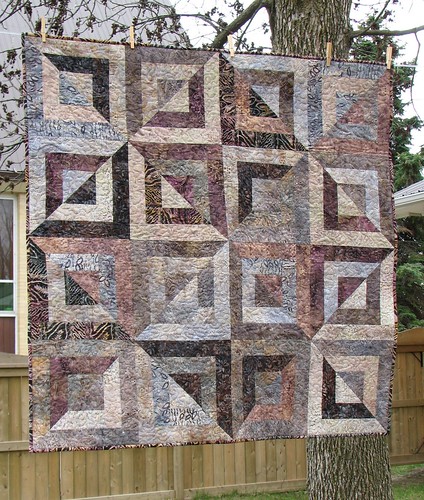
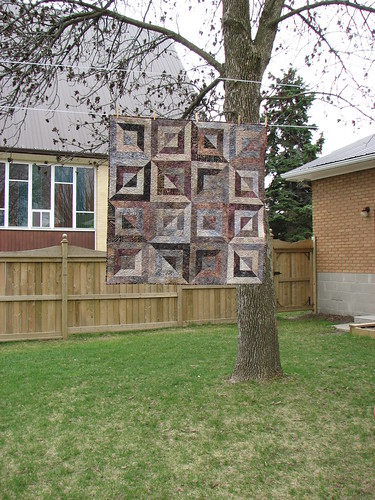
I'm quite happy with how it came out. I hope I like it on the wall in our living room. From a little more distance, you can see the different patterns in the squares/diamonds. Almost like one of those Magic Eye things (that I have to admit I have never, ever gotten to work for me. Not even once).
The part of quilting that I like best is the precise piecework. I just love all those neatly matched seams.
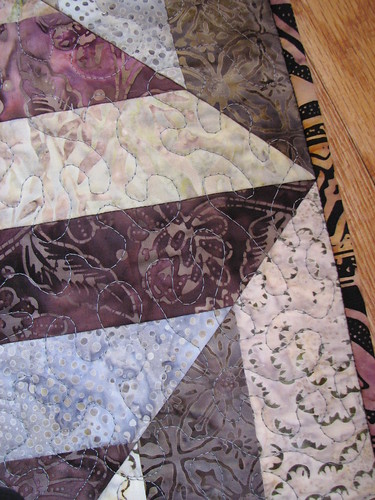
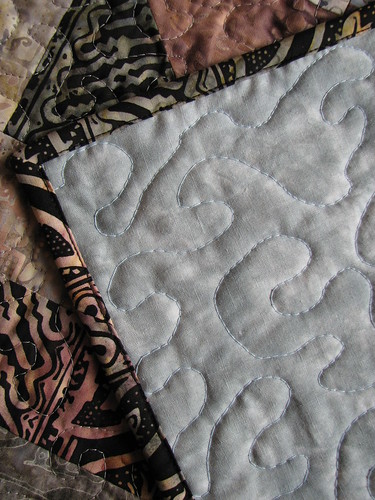
I quilted the entire thing with a random meandering/stippling pattern in a medium gray thread. For this quilt, I like the contrast of the curvy lines with all the straight seams. It also gives the quilt a cool overall texture. The stitching is most easily seen from the back of the quilt.
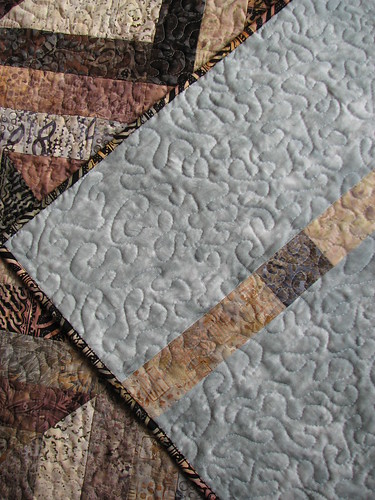
When it came time to finish the binding, I was torn about whether or not to do it by hand. I think that doing it by hand looks much nicer, but this quilt is 48" square. That would be 192" of slipstitching. Too much. My inner voice was calling me a slacker the entire time, but I stitched-in-the-ditch to finish the binding. It actually turned out really well (surprise!) so now my inner voice is now just calling me efficient.
I added a strip of randomly pieced scraps to the backing. It had to be pieced anyway - why not make it interesting? The unquilted piece at the top is the hanging sleeve.
I'm glad to have that finished and crossed off my list of goals. Now we just need to hang it up.
Next up: Sewing for charity - something I'm sorry to say I don't do very often.
Very nice! This will certainly look wonderful on you wall.
ReplyDeleteA beautiful work of art. Love it.
ReplyDeleteWOW ~ you did an awesome job with this quilt. It will definitely be a conversation piece for anyone visiting. Your stippling looks perfect and I can appreciate how much work the stippling was to do. I made a much smaller wall quilt for my mother, and I also stippled it and it was at times awkward to do, I can imagine with this size.
ReplyDeleteBeautiful quilt.
ReplyDeleteWow, you really achieved an amazing visual effect. I haven't seen too many like that.
ReplyDeleteMy favorite part is the "stripe" you added to the back--you're absolutely right that you should make it interesting if you've got to put a seam!
ReplyDeleteWas it difficult (machine?) quilting it yourself? I know a lot of people who piece, but no one who quilts her own. Do you need to use a special machine or any other technique to do so?
Berit,
ReplyDeleteI wouldn't quilt anything bigger than this (48x48) myself. Some parts were awkward and difficult, but it helped to do it in sections, with any part that I wasn't working on being rolled up. My regular machine (Pfaff) has a special tension setting for free-motion quilting and a free-motion presser foot helps a lot, too.