These little zippered bags are gifts for friends.
This one is for a young teen. It's made from decorator fabric that someone gave me recently. I sandwiched a layer of felt between the outside and lining to add a little body.

This one is for a woman who loves purple. Her Christmas decorations are purple, her garage door is purple. Loves, loves, loves purple. The fabric is leftover from a bridesmaid dress I made for my sister-in-law.
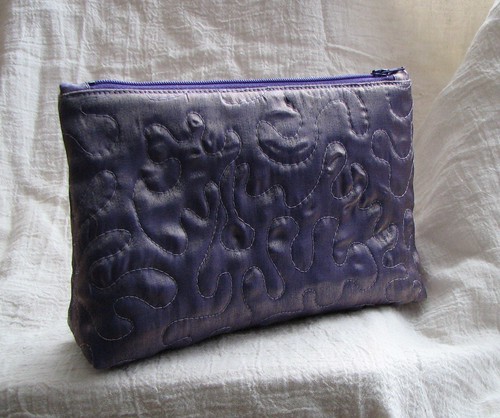
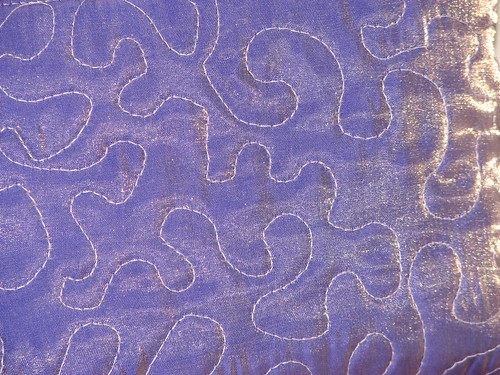
The fabric is actually quite lightweight, so I quilted it with a lighter purple thread. I'm a little rusty with the stippling, but I find it's an all-or-nothing sort of thing. I have a hard time ripping some out and re-doing parts to make it look good, so I just keep going. It is what it is.
I have some other gift items to post about yet. A couple of days ago I went back to sewing for me. I got a little work done on my jeans. Unfortunately, I think they are too tight now. That might have something to do with all the goodies the generous parishoners have been dropping off in the last week. I guess I'll need to back off from the sweets in the New Year (but probably not before then!).
This one is for a young teen. It's made from decorator fabric that someone gave me recently. I sandwiched a layer of felt between the outside and lining to add a little body.
This one is for a woman who loves purple. Her Christmas decorations are purple, her garage door is purple. Loves, loves, loves purple. The fabric is leftover from a bridesmaid dress I made for my sister-in-law.
The fabric is actually quite lightweight, so I quilted it with a lighter purple thread. I'm a little rusty with the stippling, but I find it's an all-or-nothing sort of thing. I have a hard time ripping some out and re-doing parts to make it look good, so I just keep going. It is what it is.
I have some other gift items to post about yet. A couple of days ago I went back to sewing for me. I got a little work done on my jeans. Unfortunately, I think they are too tight now. That might have something to do with all the goodies the generous parishoners have been dropping off in the last week. I guess I'll need to back off from the sweets in the New Year (but probably not before then!).
I love these bags you've been making.The fabric is very pretty for both!
ReplyDeleteI'd like to make myself one too, so one more thing for my to do list, and your stippling looks great :)
i like the idea of putting felt in them.
ReplyDelete