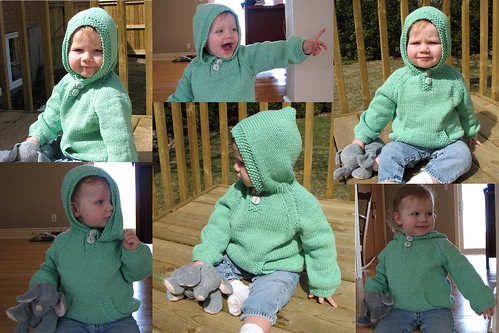
It's finished!
 The details:


 Overall, I'm pretty happy with the sweater...other than the color. I call my older daughter "Peanut." Perhaps the younger will now be "Pistachio." Hmmm....not quite the same.
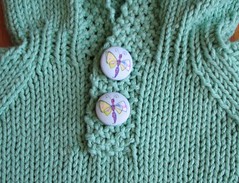
The details:The buttons aren't a great match, but I'm using them anyway. I like them, I had them, and they were expensive. This is as good of a use as any. I bought them in NY and I didn't have the yarn with me to match, so this was as good as I could get.
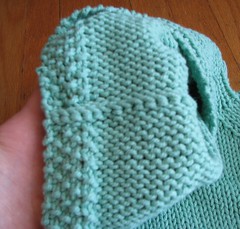
The pattern calls for garter stitch at the edges of the pocket and ribbing at the hem. I changed both of those to seed stitch.
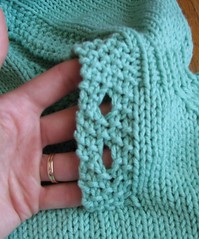
I altered the placket, also. As written in the pattern, the placket doesn't overlap - it's just a slit with a garter stitch border. To make the placket this way, I cast on five stitches on the underside, knit them in seed stitch throughout and then sewed it to the upper layer at the base of the placket. Knit buttonholes are always ugly, aren't they? These are just yarn-overs that I stretched out a bit during blocking so they would work with the buttons.
The pattern suggests grafting the top of the hood together. Hello? Grafting 27 stitches? No thank you. I did a three-needle bind off and am quite satisfied with that.
Overall, I'm pretty happy with the sweater...other than the color. I call my older daughter "Peanut." Perhaps the younger will now be "Pistachio." Hmmm....not quite the same.
You are such an inspiration! I am challenged to follow a pattern and you are writing your own. Little pistachio is darling in the sweater!
ReplyDelete